Making beeswax wraps is easy and fun! For a flexible wrap, we recommend using 5 parts beeswax, 2 parts pine resin, and 1 part jojoba oil. For example, if we use 3.5 ounces of beeswax, that means 0.7 ounces of resin and 1 tablespoon of jojoba oil. This mix helps us create just the right stickiness level. Remember to pre-wash your fabric and avoid using harsh cleaners. If we want to learn some handy tips on the entire process, keep going!
Key Takeaways
- Use a ratio of 5 parts beeswax, 2 parts pine resin, and 1 part jojoba oil for optimal flexibility.
- Adjust pine resin quantity to modify the wrap’s tackiness; less resin leads to softer wraps.
- Experiment with different ratios to personalize your beeswax wraps based on your preferences.
- A recommended mixture for each wrap is 3.5 ounces of beeswax and 0.7 ounces of resin.
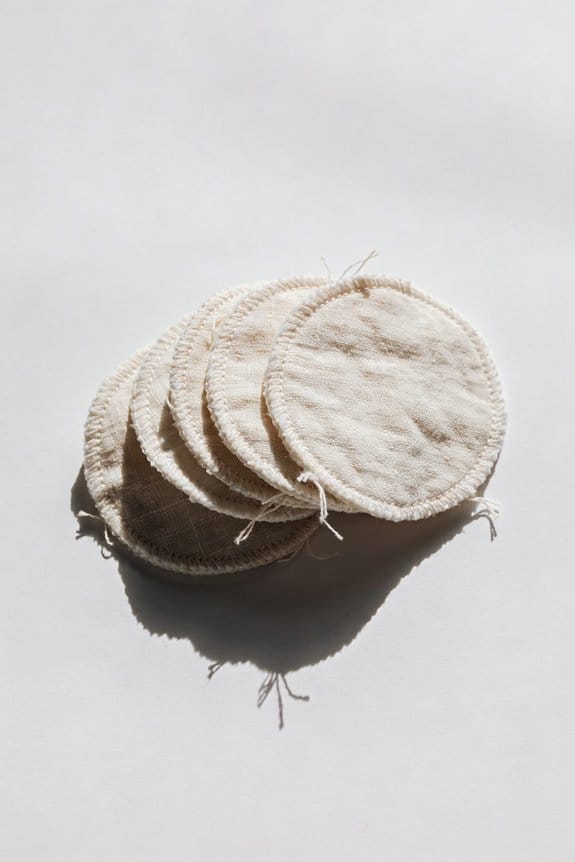
- Maintain breathability by using 100% cotton fabric for your wraps.
The Benefits of Beeswax Wraps: A Natural Alternative to Plastic
Have you ever looked in your fridge and felt overwhelmed by all the plastic wrap and bags? If you’re trying to cut down on plastic use, beeswax wraps are a wonderful alternative. These wraps not only help you store food but also significantly reduce plastic waste.
Made from natural materials like 100% cotton fabric, beeswax, and jojoba oil, these wraps are safe for your food and friendly to the environment. The best part is their antibacterial properties which keep your snacks fresh without needing harmful chemicals. You’re not just wrapping your leftovers; you’re making a choice for a healthier planet.
Reusable for up to a year with proper care, beeswax wraps can save you some money too. All you need to do is rinse them with cold water and a little mild soap to keep them clean. Plus, their breathable design lets air circulate, maintaining food freshness. So, why not give your kitchen a little eco-friendly upgrade?
Think about it: instead of tossing out single-use plastics after every meal, you can rely on these handy wraps. They make food storage safer and greener. Honestly, it’s a simple switch that can make a difference in your kitchen routine. Many beeswax wraps come with GOTS-certified organic cotton, ensuring both quality and eco-friendly sourcing.
Recommended Products

Beeswax Making Kit: There are electric wax melting pot for beeswax melting, 5lbs beeswax, 100 cotton wicks, 100 wick stickers, 1 wooden spoon, 1 AC cable in the package.

Package Content :- 100gm Bee wax. Our beeswax are pure completely natural, biodegradable and sustainable product.Chosen high-quality beeswax will bring a touch of color to your environmentally friendly home life.

Essential Ingredients and Tools for Making Beeswax Wraps

Making your own beeswax wraps can be a rewarding DIY project! If you’re tired of single-use plastic wrap, why not create something sustainable instead? You’ll need a few simple ingredients: food-grade beeswax, sustainably sourced pine resin, and jojoba oil. The best mix I’ve tried has been around 3.5 ounces of beeswax, 0.7 ounces of resin, and 1 tablespoon of jojoba oil. It’s also important to use 100% cotton fabric since it breathes and absorbs moisture well.
For tools, a double boiler is essential for melting your mixture evenly. Here’s the trick: use baking sheets lined with parchment paper to coat the fabric with the beeswax blend. When you cut your fabric, make sure to pre-wash it for better absorption, and grab some pinking shears to help prevent those annoying frays. So, why does this matter? Preparing a tidy workspace makes everything feel less chaotic and keeps your project moving smoothly.
If you’re new to this, don’t hesitate to give it a try. Making your own beeswax wraps not only helps the environment but also saves you money in the long run. It feels good creating something useful! Plus, these wraps have natural antibacterial properties that help maintain food freshness effectively.
To recap, gather your supplies, set up your workspace, and enjoy the process. What other sustainable things have you thought about making at home?
Recommended Products

Natural & Pure: Crafted from triple-filtered, natural beeswax for a clean, honey-scented burn

Beeswax candle kit: Orange Wax Melter with LED Display 1pcs,5lbs natural beeswax,8in candle wicks 30pcs,6in candle wicks 30pcs,3.5in candle wicks 30pcs,beeswax wicks 30pcs,wick stickers 100pcs,wick holder 10pcs,measuring cup 1pcs,manual instruction 1pcs.Includes Everything you need to make your own candles.

Triple Filtered Beeswax: Our beeswax pellets are made from triple filtered beeswax, which is free from additives, chemicals, and fragrances. You can enjoy the clean and natural burn of our beeswax, without any harmful toxins
Determine Optimal Mixture Ratios for Flexibility

Want to make flexible beeswax wraps that work great for food storage? It’s all about experimenting with the right mixture of ingredients. A classic starting point is a mix of 5 parts beeswax, 2 parts pine resin, and 1 part jojoba oil. This combo usually results in a nice balance—flexible enough to wrap around your food but still sticky enough to keep things fresh.
Now, if you’re wondering how to make your wraps feel less tacky, consider dialing back on the pine resin. Reducing it just a bit can lead to a less adhesive wrap, which might enhance your experience when handling the wraps. Start with about 2 teaspoons of jojoba oil; this helps balance the overall stickiness without leaving your wraps feeling oily.
So, what are some practical ideas for tweaking your mix?
- Less Resin: Go softer if you prefer wraps that are easy to maneuver.
- More Resin: Make them stickier if you need added adhesion for foods like cheese or bread.
It’s truly about finding what feels right for you. Honestly, adjusting these ratios isn’t a one-size-fits-all solution. But don’t stress; it can be a fun process of discovery.
At the end of the day, wrapping up your leftovers or snacks in beeswax wraps can be a rewarding and sustainable choice. For crafting and kitchen use, combining these wraps with eco-friendly utensils can enhance your green lifestyle.
Have you tried making your own yet? What’s holding you back?
Recommended Products


🐝Never Be Stung Again: The elastic bands on bee suit provide a secure snug fit, preventing unwanted entry of bees. Feel confident & protected with our high-quality beekeeping suit. Whether you are a hobbyist or apiarist, our bee suit is a perfect choice.
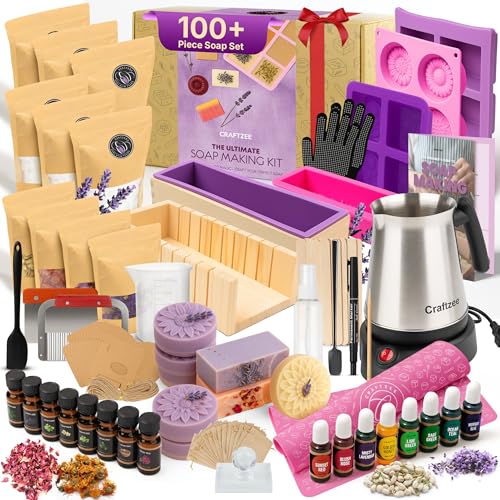
【 Complete Ultimate DIY Soap Making Craft Kit for Adults & Kids 】 Our largest soap making kit yet! This premium 117-piece kit includes 6 lb of soap base - 3 lb clear & 3 lb shea butter soap base bags, 8 essential oils, 8 liquid dyes, 4 dried flower packs, wax melter, 1 measuring cup, 1 stainless steel stirring spoon, 1 spatula, prep mat, 3 silicone mold trays (1 rectengle, 1 flower, and 1 flower rectangluer), 1 rose loaf mold, 1 loaf mold with box, 2 stainless steel soap cutters (1 straight & 1 wavy) a soap cutter box, 1 embossing stamp, 1 spray bottle, 2 gloves, 10 stirrers, 15 gift boxes, 15 gift bags, 30 tags & twine, and a marker - all packed gift-ready in a premium box.
Step-by-Step Process for Melting and Applying Beeswax Wraps
Have you ever tried using plastic wrap and felt guilty about all that waste? If you’re looking for a greener alternative, beeswax wraps can be a fantastic solution. Let’s dive into how to make your own, combining flexibility and stickiness without the plastic.
To kick things off, preheat your oven to 300°F and grab a cookie sheet to line it with parchment paper. This setup is essential to make sure your wraps don’t stick. Now, let’s get that melting mixture ready. You’ll need 3.5 ounces of beeswax, 0.7 ounces of pine resin, and just about a tablespoon of jojoba oil. This mix will give your wraps that perfect blend of clinginess while remaining flexible.
Once you have your mixture, lay your 100% cotton fabric flat on the parchment paper. Lightly brush the mixture over the fabric in a snake-like motion so you know it’s getting even coverage everywhere. After that, it’s time to pop the fabric into the oven for about 3-4 minutes. Don’t forget to flip it halfway and add a bit more wax if it looks like it needs it. So, why does this matter? Because even application helps the wrap work better!
When you’re done baking, let the wraps cool down a bit—hanging them on a string for about 5-7 minutes works like a charm. The result? Homemade beeswax wraps that’ll keep your food fresh without the guilt of plastic waste.
These wraps, made from organic cotton and beeswax, provide durable and eco-friendly food storage that can last 6-12 months with proper care.
It’s really that simple! Have you tried making your own wraps yet?
Recommended Products
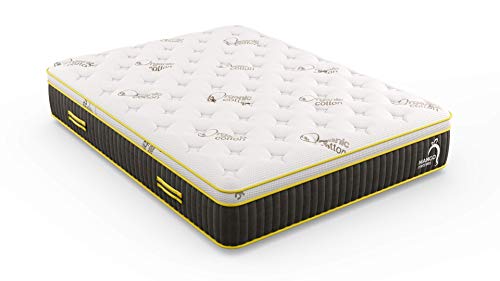
Natural Talalay Latex: Our mattresses are made of natural latex that provides cleanliness, longevity, temperature regulation and quality to your sleeping experience

*GOTS CERTIFIED ORGANIC BEESWAX INFUSED COTTON<br> Normal cotton can be full of toxins. Ours is GOTS certified organic. Beeswax infused, it is an advanced temperature adaptive fabric. You'll never sleep cooler.

Preserve Homemade Goodness: Our 2-pack of cotton and beeswax bread bags offers a two-in-one solution, preserving breads homemade goodness with ease. With our reusable bread bag, your homemade bread maintains its irresistible freshness for extended periods.
How to Use and Care for Your Beeswax Wraps?
Using beeswax wraps can really help cut down on plastic waste while keeping your food fresh. But the key to getting the most out of them is knowing how to care for them properly.
To clean your wraps, wash them in cool water with a bit of mild soap. It’s better to let them air dry instead of throwing them in the dishwasher—hot water can ruin their integrity. When it comes to storage, just fold them up and stash them in a drawer or cupboard away from sunlight and heat to extend their life even more.
So, what if your wraps lose some of that stickiness? Here’s the trick: you can refresh them by applying a light coat of melted beeswax mixture in the oven at 300°F for a few minutes. And when you’re ready to use them for wrapping food, simply warm them a bit in your hands to make them more pliable. If you want to keep things secure, using rubber bands can help too!
Honestly, making these small adjustments can really enhance your experience with beeswax wraps. They’re not just environmentally friendly; they also can save you money in the long run. Incorporating eco-friendly products like reusable paper towels into your kitchen routine can further reduce waste and complement your use of beeswax wraps.
Have you tried using beeswax wraps yet? What’s stopping you from giving them a shot?
Recommended Products
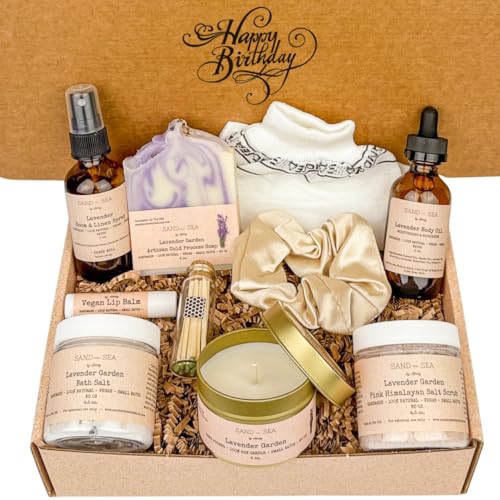
Birthday Basket: Unique birthday gift for women included 10 pieces of handmade spa kit. Beautifully packaged and gift-ready for birthdays. There is real American hard work.

[Organic Beeswax] Our beeswax pellets come from organic bee farms and are triple filtered, free from any chemicals, and fully biodegradable as a natural product.

ORIGINAL COMPLETE GIFT SET – Give the gift of Skidmore's! Includes one 6 oz Leather Cream, one 6 oz Waterproofing, one Skidmore's applicator, and all conveniently pre-gift wrapped in a Skidmore's gift box.
Frequently Asked Questions
What Is the Best Ratio for Beeswax Wraps?
For beeswax wraps, we should aim for ideal blending with 5 parts beeswax, 2 parts pine resin, and 1 part jojoba oil. This guarantees wrapping efficiency, durability factors, and eco-friendly alternatives for improved scent retention.
How to Make Beeswax Fabric Wraps?
To make beeswax fabric wraps, we’ll use DIY techniques with sustainable materials. After wax melting, we’ll customize our fabric choices, apply proper cleanup methods, and explore storage solutions for effective food preservation and longevity tips.
What Is the Best Fabric for Beeswax Wraps?
When we think of sustainability, 100% cotton emerges as the best fabric for beeswax wraps. Lightweight linen, organic cotton, or even recycled fabrics offer breathability and durability, while patterned and colored options bring joy to our eco-friendly choices.
What Are the Disadvantages of Beeswax Wraps?
While beeswax wraps offer sustainability, they’ve drawbacks like limited shelf life, cleaning challenges, and reliance on sourcing wax. Considering consumer preferences and alternative materials can enhance our reusable practices and assess the environmental impact of our choices.